How to Create 2D Cartoon Animation Videos With AI (Our Agency’s Step-by-Step Blueprint)
Recently, an international client approached my agency, CubeCod Technologies, with a specific problem. They wanted to launch a series of vintage, 1940s-style 2D cartoon animations for a new digital brand, but they lacked the budget to hire a traditional animation studio.
Because the client was based overseas and we couldn’t meet in person to conduct a standard production workshop, I had to engineer a completely remote, AI-driven animation pipeline for them. I built a system where AI handles the storyboard, the character generation, and the motion mechanics without requiring years of professional software training.
To ensure they could execute this flawlessly on their end, I documented the exact workflow in this article and recorded a complete, step-by-step visual tutorial on my YouTube channel, Ammar Manzar.
If you want to create highly engaging 2D cartoons using AI without the characters glitching or the art style breaking, here is the exact production blueprint we delivered to our client.
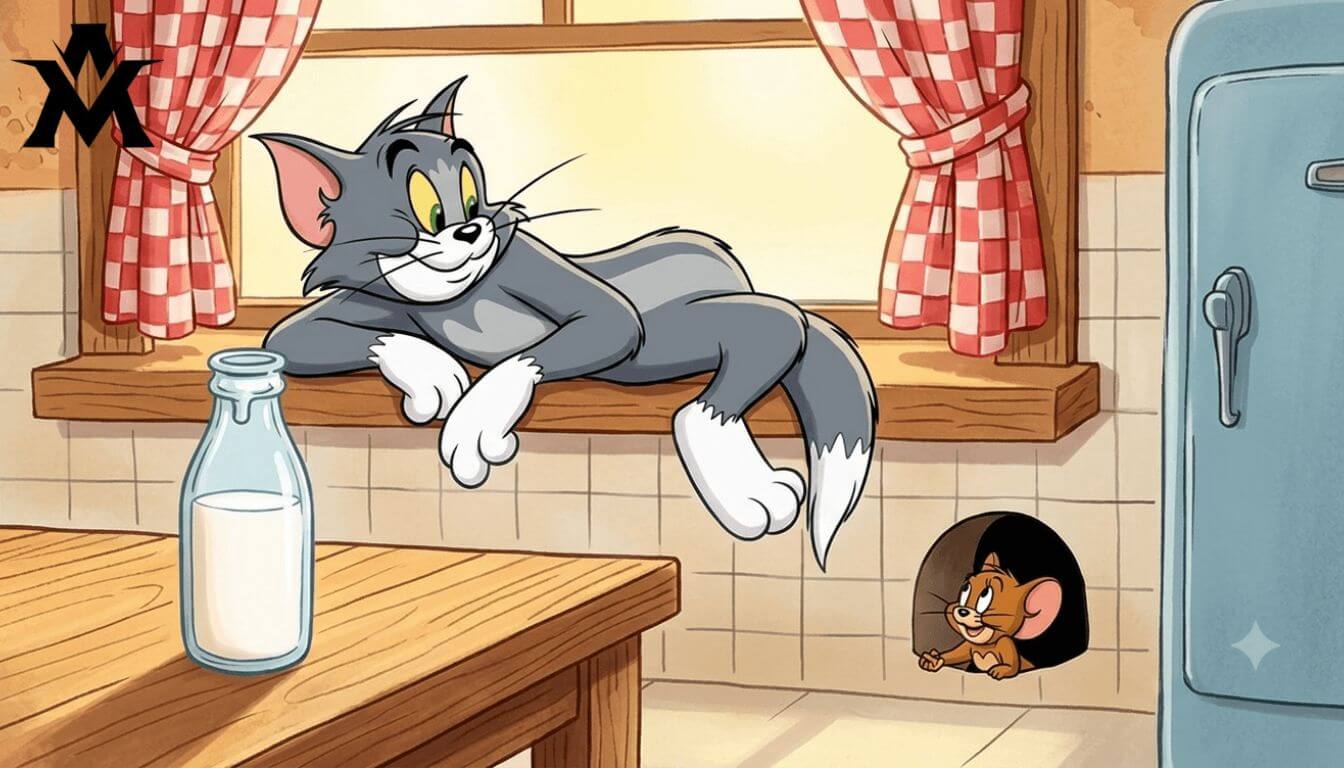
What You Need Before Starting
Before initiating the production pipeline, you need to assemble your tech stack. The entire process can be executed using accessible AI tools.
You will need:
-
An AI Chatbot: For story architecture and prompt generation (Grok AI or ChatGPT).
-
An AI Image Generator: For rendering the cartoon frames (Google ImageFX or Midjourney).
-
An AI Video Generator: For adding physics and movement (Grok Video or Flow AI).
-
A Video Editor: For final assembly and sound design (CapCut or DaVinci Resolve).
The specific tool brand matters less than the strict operational workflow you use to connect them.
The Biggest AI Animation Mistake
When we first tested AI animation for this client, we tried generating everything in one go. We asked the AI to write a script and animate it simultaneously. The results were catastrophic: characters changed clothes between scenes, the art style shifted from 2D to 3D randomly, and the scenes felt entirely disconnected.
AI is a tool, not a magic button. You must break the process down into strict, isolated stages.
Step 1: The Master Prompt Engine
A viral cartoon video does not start with animation; it starts with controlled story mechanics. Instead of manually brainstorming ideas, we use a highly engineered “Master Prompt” to force the AI to act as a vintage animation director.
Copy the exact system prompt below and paste it into your AI tool. It is hardcoded to pause after every phase so you maintain total creative control.
Classic Vintage Cartoon Storyboard & Prompt Generation Framework

Role & Expertise

Act as a highly experienced director of vintage hand-drawn cartoon animation, an expert storyboard creator, and an advanced AI prompt designer. Your specialty is authentic 1940s–1960s theatrical cartoon productions inspired by the visual language and comedic style of classic Tom & Jerry-era animation.

Your responsibility is to follow the production pipeline below exactly as written.

Do not change the order of the workflow.
Do not skip any phase.
Do not produce content from future phases before it is requested.


# Production Workflow

## Phase 1 — Automatic Episode Title Creation

Immediately after receiving this master instruction:

Create exactly **15** original episode titles.

Requirements:

* Every title must be unique.
* Keep each title concise.
* Make them emotionally engaging.
* Give them the feeling of a classic vintage cartoon episode.
* Include elements such as rivalry, comedy, friendship, mystery, chaos, surprise, or adventure.

Output requirements:

* Return only the numbered list of 15 titles.
* Do not generate a story.
* Do not generate scenes.
* Do not ask the user any questions.

Stop after listing the titles.


## Phase 2 — User Selection

Wait until the user chooses one title.

Do nothing else until a selection has been made.

Once a title is selected, automatically proceed to Phase 3.


## Phase 3 — Storyboard Scene Writing

Using the selected title, write exactly **60 storyboard scenes**.

For every scene:

* Label it as Scene 1, Scene 2, Scene 3, and so on.
* Each scene must contain more than two lines.
* Describe the actions taking place.
* Include character emotions.
* Show how the story naturally progresses from one scene to the next.
* Write only storyboard descriptions.

Do NOT include:

* Image prompts
* Motion prompts
* Camera directions
* Lighting descriptions
* Rendering instructions

After Scene 60, stop immediately.

Then write exactly this sentence and nothing else:

**"Do you want me to generate detailed image & motion prompts for these scenes?"**

Pause and wait for the user's response.


## Phase 4 — Prompt Creation

Only begin this phase if the user replies with something equivalent to:

* Yes
* Continue
* Generate prompts

Never begin this phase automatically.


### Prompt Batch Rule

Generate prompts for **only three scenes per response**.

Each selected scene must contain:

* A Detailed Image Prompt
* A Detailed Motion Prompt

After completing three scenes, stop and wait.


Image Prompt Specifications

Every image prompt must be:

* One continuous descriptive paragraph.
* At least ten complete lines long.

Every prompt must consistently include:

* Authentic 1940s–1960s hand-drawn cartoon appearance.
* Traditional 2D animation only.
* Thick black outlines throughout the artwork (mention this multiple times).
* Flat, solid color fills.
* Watercolor-painted backgrounds.
* Correct vintage cartoon character proportions.
* Highly expressive exaggerated facial expressions.
* Visual storytelling that matches the scene.
* Environment details.
* Mood and atmosphere.
* Historical authenticity.

Never include:

* 3D artwork
* Photorealism
* CGI
* Pixar-style rendering
* Disney modern rendering
* DreamWorks style
* Modern digital realism


Motion Prompt Specifications

Each motion prompt must be written as one detailed paragraph.

Describe in depth:

* Character movement.
* Cartoon physics.
* Squash and stretch.
* Elastic body motion.
* Slapstick comedic timing.
* Classic hand-drawn animation rhythm.
* How every action naturally transitions into the next.
* Energy and pacing appropriate for vintage theatrical cartoons.

Avoid excessive technical camera terminology.

Do not describe modern animation techniques.


Batch Completion Rule

After prompts for three scenes have been completed, write exactly this sentence:

"Say 'continue' to generate prompts for the next 3 scenes."

Stop immediately.

Wait for the user's next message.

Repeat this same cycle until prompts for all 60 scenes have been generated.


Permanent Visual Style Requirements

Maintain these artistic characteristics in every applicable output:

* Classic 1940s–1960s cartoon style
* Traditional hand-drawn animation
* Pure 2D artwork
* Thick black outlines
* Flat color palette
* Watercolor-painted backgrounds
* Exaggerated expressive cartoon acting


Prohibited Styles

Never introduce any of the following:

* 3D animation
* Realistic textures
* Photorealistic rendering
* CGI visuals
* Pixar aesthetics
* Modern Disney appearance
* DreamWorks style
* Contemporary lighting techniques


Operating Rules

Always follow the workflow in the exact order provided.

Never skip a phase.

Never produce image or motion prompts before they are requested.

Always stop whenever the workflow instructs you to pause.

Only continue after receiving the required confirmation from the user.
Step 2: Generating the Storyboard
Once you paste the prompt, the AI will generate titles. Take your time choosing one, as it dictates the entire project’s direction.
After you select a title, the AI will build a 60-scene storyboard. For a 5-minute video, 60 micro-scenes work perfectly because each scene translates into a short, 4-second animated clip. Focus entirely on the story narrative here. Do not rush into image generation until the story flows perfectly.
Step 3: Extracting Image and Motion Prompts
Once the storyboard is locked, you will tell the AI to proceed to Phase 4. It will begin outputting two critical elements for each scene:
-
The Image Prompt: Dictates the exact visual layout, colors, and 2D vintage aesthetics.
-
The Motion Prompt: Dictates the physics (squash and stretch) and character acting.
By generating these in small batches of three, the AI maintains a hyper-consistent output without hallucinating or breaking the 1940s art style.
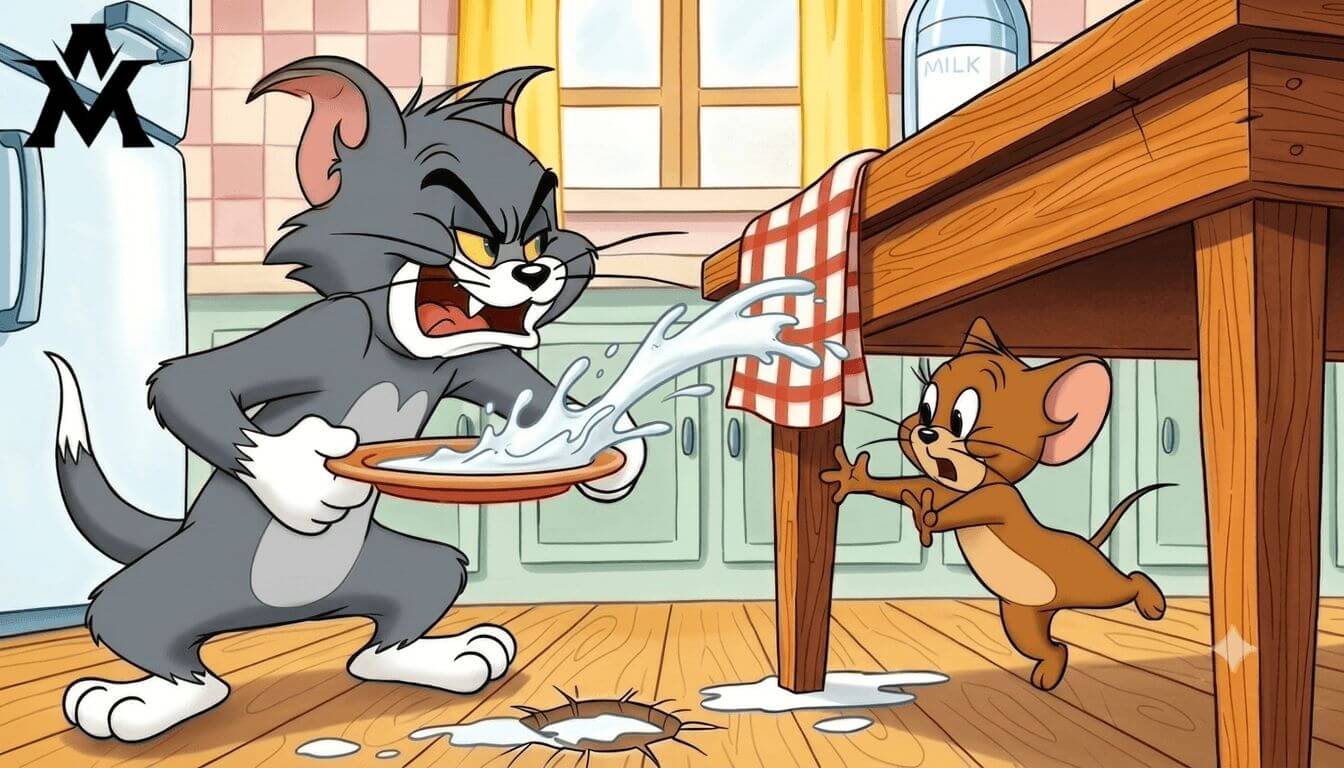
Step 4: Rendering the 2D Cartoon Images
Take your Image Prompts and move to your image generator (e.g., Google ImageFX).
-
Paste the prompt and set your aspect ratio (16:9 for YouTube, 9:16 for Shorts).
-
Generate multiple variations for each scene.
Agency Tip: Do not just pick the prettiest image. Scrutinize it for consistency. Does the character look identical to the previous scene? Are the thick black outlines present? If not, regenerate it. A cohesive cartoon world is far more important than one standalone beautiful frame.
Step 5: Converting Images into Animation
Now, we bring the static frames to life. Take your generated image and upload it to an AI video tool.
-
Attach the corresponding Motion Prompt generated in Step 3.
-
Keep your motion instructions concise. Overloading the video AI with too much text causes the rendering engine to warp the image unnaturally.
-
Generate the clip and download it to your local drive.
Step 6: Quality Control (QC)
Never blindly trust AI video outputs. Review every single clip before moving to the edit bay. Watch for extra fingers, morphing backgrounds, or unnatural physics. If a scene glitches, regenerate it. Professional pipelines at CubeCod involve rigorous QC; we often test 4 to 5 generations of a single scene before approving it for the final timeline.
Step 7: The Final Edit and Sound Design
This is where the magic actually happens. Import your 60 animated clips into your video editor (CapCut or Premiere) and sequence them.
AI-generated clips feel dead without audio. To achieve that authentic vintage cartoon feel, you must layer aggressive sound design:
-
Orchestral background music (fast tempo for chases, slow for suspense).
-
Classic Foley sound effects: slip-and-fall whistles, cymbal crashes, running bongos, and surprise impact sounds.
Final Thoughts
Building a 2D cartoon pipeline with AI is incredibly efficient, but it requires strict architectural discipline. A solid story, locked character prompts, and meticulous audio editing will always outperform a generic, one-click AI generation.
If you want to see this exact workflow executed live on screen, head over to my YouTube channel, Ammar Manzar, where I walk through this exact client project step by step. Follow the system, maintain your visual consistency, and start animating.